Focus Stacking
In the lesson on focus stacking we were given a set of images of a peg. To make the peg look as sharp and crisp as possible when enlarged as part of a composite the peg is photographed at different focus points then stacked using an automatic feature within Photoshop.
We then placed the peg into another image and created a our own drop shadow (see image below).
I think I did a decent job of this other in hindsight I would probably make the opacity of the shadow slightly less and feather its edges some more.

I had already considered using focus stacking in my project on scale but this lesson inspired me even more to do so. Also, I have a high powered macro lens that I haven't used properly in the couple of years that I've had it, so I decided now would be a good time to learn.
 /
/
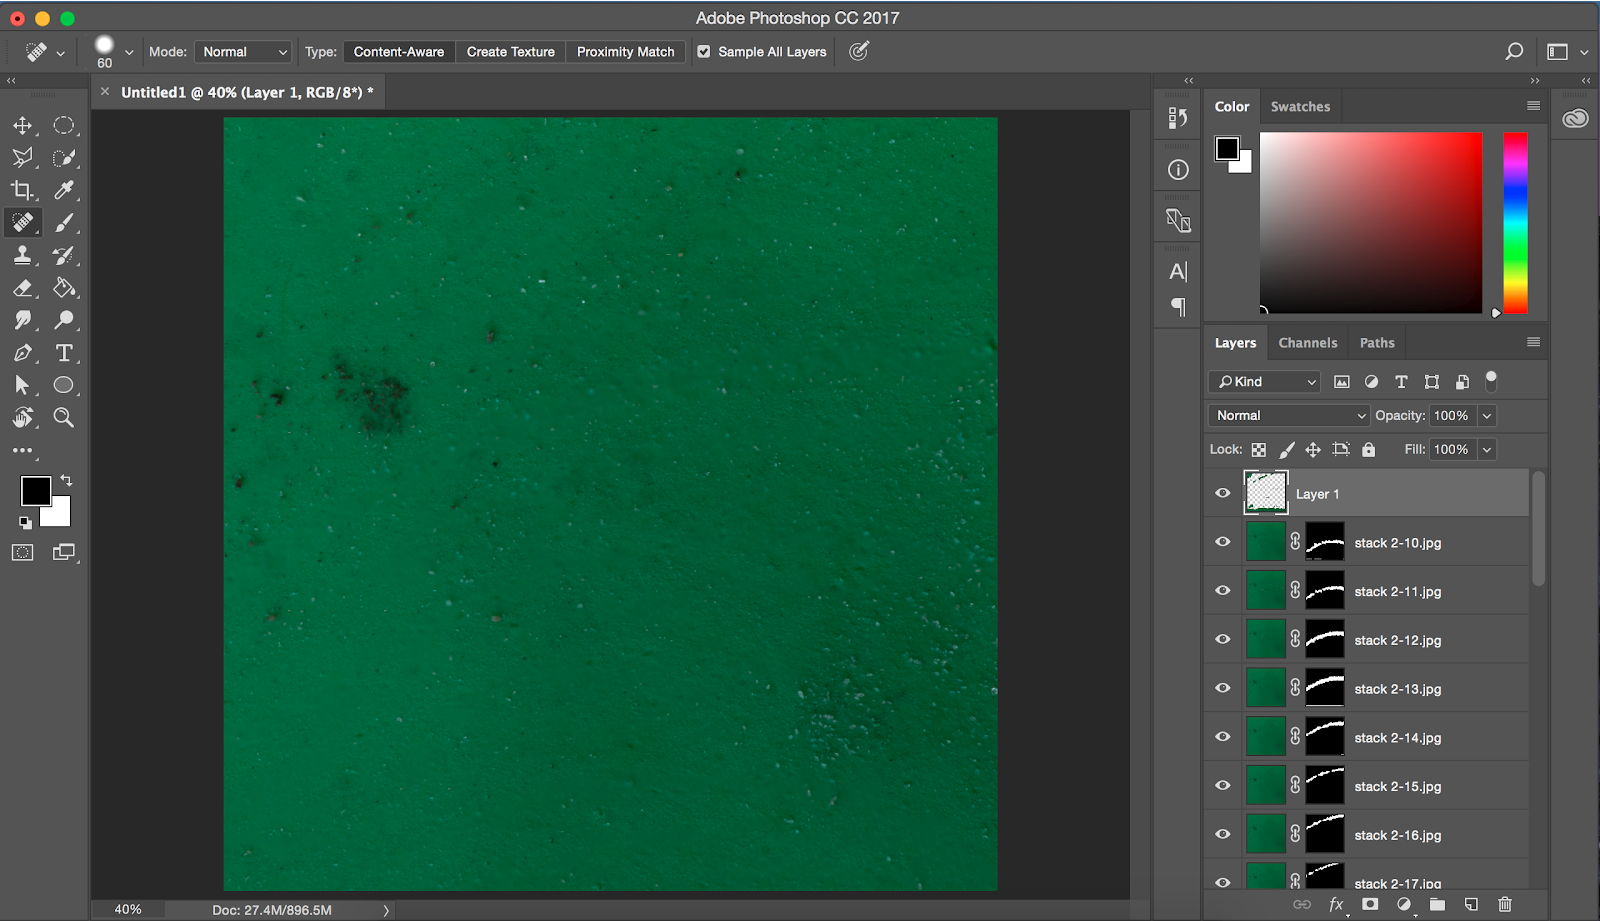
My first attempt consisted of approximately 13 images. As you can see from the highlighted area above Photoshop struggled to blend the images without big blurred areas. The problem with such a high-powered macro lens is that only the tiniest focus point can be achieved. This means that to create an image with depth that is also pin sharp from corner to corner means taking a lot of shots. Having more shots makes it more difficult for Photoshop to blend cleanly meaning the best course of action is to blend manually, therefor increasing the workload drastically.


Once I received the plastic from Plastic Oceans UK I decided to attempt focus stacking once again.
This time I took approximately 25 images but decided to shoot the object (a small balloon) flat againsts a surface with the lens being perpendicular to the subject. This change in approach gave Photoshop a much easier job of blending the layers and I only had to touch up the odd area to give a sharp image. I intend to attempt this more for my project into scale and I think the next big improvement can be made using better lighting.
We then placed the peg into another image and created a our own drop shadow (see image below).
I think I did a decent job of this other in hindsight I would probably make the opacity of the shadow slightly less and feather its edges some more.

I had already considered using focus stacking in my project on scale but this lesson inspired me even more to do so. Also, I have a high powered macro lens that I haven't used properly in the couple of years that I've had it, so I decided now would be a good time to learn.
 /
/My first attempt consisted of approximately 13 images. As you can see from the highlighted area above Photoshop struggled to blend the images without big blurred areas. The problem with such a high-powered macro lens is that only the tiniest focus point can be achieved. This means that to create an image with depth that is also pin sharp from corner to corner means taking a lot of shots. Having more shots makes it more difficult for Photoshop to blend cleanly meaning the best course of action is to blend manually, therefor increasing the workload drastically.

Once I received the plastic from Plastic Oceans UK I decided to attempt focus stacking once again.
This time I took approximately 25 images but decided to shoot the object (a small balloon) flat againsts a surface with the lens being perpendicular to the subject. This change in approach gave Photoshop a much easier job of blending the layers and I only had to touch up the odd area to give a sharp image. I intend to attempt this more for my project into scale and I think the next big improvement can be made using better lighting.


Comments
Post a Comment