Preparing my final prints
Preparing my final prints for module 523 (scale)

After shooting my macro images for the assignment I then needed to prepare them for print.
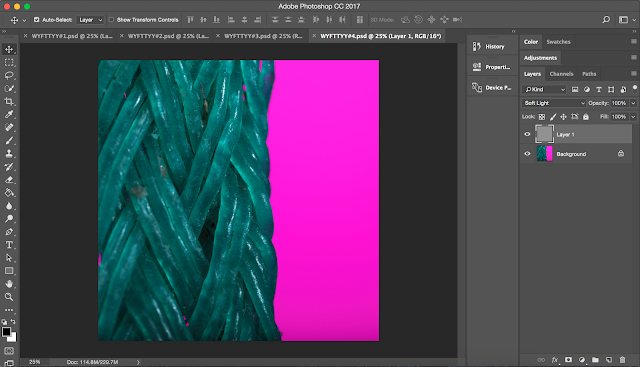
The first thing I did was to add a sharpening recipe to whole image. Although the opacity of the sharpening mask is on 100% I was careful not to add too much sharpening.
As you cant see from the image above it looks abit dull and off putting. The reason for the colour blance initially being off I think was due to the high amount of lighting I used to contend with the nature of the specialist macro lens.

To make the green more accurate I negotiated each seperate colour channel until I had the correct tone of green. In changing the color channels I created unwanted areas of purple fringing in parts of the subject but this could not be corrected with the colour channels so I used a mix of the spot healing brush and the clone stamp tool to get rid of the worst areas.

Next I created mock gallery images to see how my images would look when exhibited. After seeing them displayed as single images I decided to add a white border with a thin black outline around the image to create seperation between the border and the image itself.

After running test prints I decided that although the colours were now more accutate, the print lacked punch so I upped the brightness levels and the contrast slider aswell. Again I was very sparing with how much I added but I feel the adjustments have made the subject more inviting and improve the overall quality of the print.

I then repeated the whole process for my 2nd print 'Would You Feed This to Your Young? #1'
(see above).


Comments
Post a Comment